How to focus stack for landscape photography
So I use a focus stacking a fair bit for my landscape photography and find it useful for many situations.
So today I thought I would share with you how I go about it. So I use 2 different methods to focus stack and I will be looking at both of these today from the shoot right through to the edit.
So before we get started if you haven't tried focus stacking before let me briefly explain what it entails.
What is focus stacking?
Focus stacking is a method of combining several images which are focused on different parts of the scene, after the images have been taken they are blended together in post processing with programs such as Adobe photoshop.
Why do you need to focus stack?
Focus stacking is important when we cannot gain sufficient depth of field with one shot. Focal length and how close the camera is to our foreground element will have a big impact on depth of field.
So say we have a scene in front of us that we would like to shoot and we have a nice foreground element that is close to the camera we may struggle to get all of the scene in focus by taking only 1 image. A lot will depend on the focal length that we are using, the wider the lens the easier we will find it to get that large depth of field but if we are zoomed in a bit, that acceptably sharp area will become less. The easy option is to increase the f-stop from say, f8 to f22 this will give us a larger depth of field, but you will likely lose sharpness in the whole of the image due to lens diffraction.
Take these 2 images here shot at f8 and f22. look how much softer the f22 shot is.
AVOID USING A SMALL APERTURE / HIGH F NUMBER, BECAUSE OF LENS DIFFRACTION.
So to avoid using high F numbers we can take multiple shots of the same scene focused on different parts of the image and blend these in photoshop to create one perfectly sharp image from front to back.
So method 1 for focus stacking a landscape photography shot is to manually focus on different parts of the image and blend these in photoshop using layers. It’s easy and simple and probably the way I use most often.
So for this first shot, we are about 4 feet away from the foreground subject and I have taken a quick look at some test shots to see where I lose focus in the image. For this particular shot, I am going to take 3 shots, one on the foreground, one around a third in and one on the background.
Before you shoot though, it is really important to make sure that your camera is well secured on a sturdy tripod and all of your settings are set to manual, including your white balance. You want to make the blending as easy as possible when you get to the post-processing stage. It is also worth using the built-in timer on your camera or a shutter release to remove any camera shake.
HOW TO EDIT THE IMAGES
first of all, import the 3 images into lightroom. I will do some global adjustments and sync them to all 3 images. next, I will highlight the 3 images in the film strip and right-click and select edit as layers in photoshop.
This will bring the three images into photoshop, stacked in the layers pallet. I always align my layers by clicking edit and selecting auto-align layers. This helps keep all three images perfectly on top of each other. Now it is just a case of masking out the areas of the image that are out of focus. For more info on this check out the video below for a detailed run down.
So method number 2 is a little more involved but works great in certain situations. So this method of focus stacking requires your camera to have a bracketing feature. If your camera doesn’t support bracketing, don't worry, you can do it manually but it will take a bit more patience.
Focus bracketing comes into its own when there are moving objects in the scene, like flowers, trees and clouds, because the automatic bracketing feature takes all of the images very quickly, my camera will do it in a matter of seconds. It also makes focus stacking possible when shooting handheld if you have a steady hand. Another reason bracketing works so well, is if you are really close to your foreground interest. If you're say, a foot away, it may take many shots to get sharp focus from front to back. Again focal length is a big factor here.
If you are interested in focal length, be sure to check out this post I recently did about choosing the right focal length for landscape photography. FOCAL LENGTH
So after setting up your camera to take the bracketed shots focused on different parts of the image you will then need to blend these together in photoshop. I have a different way to do this for lots of shots which is a more automated way of doing things
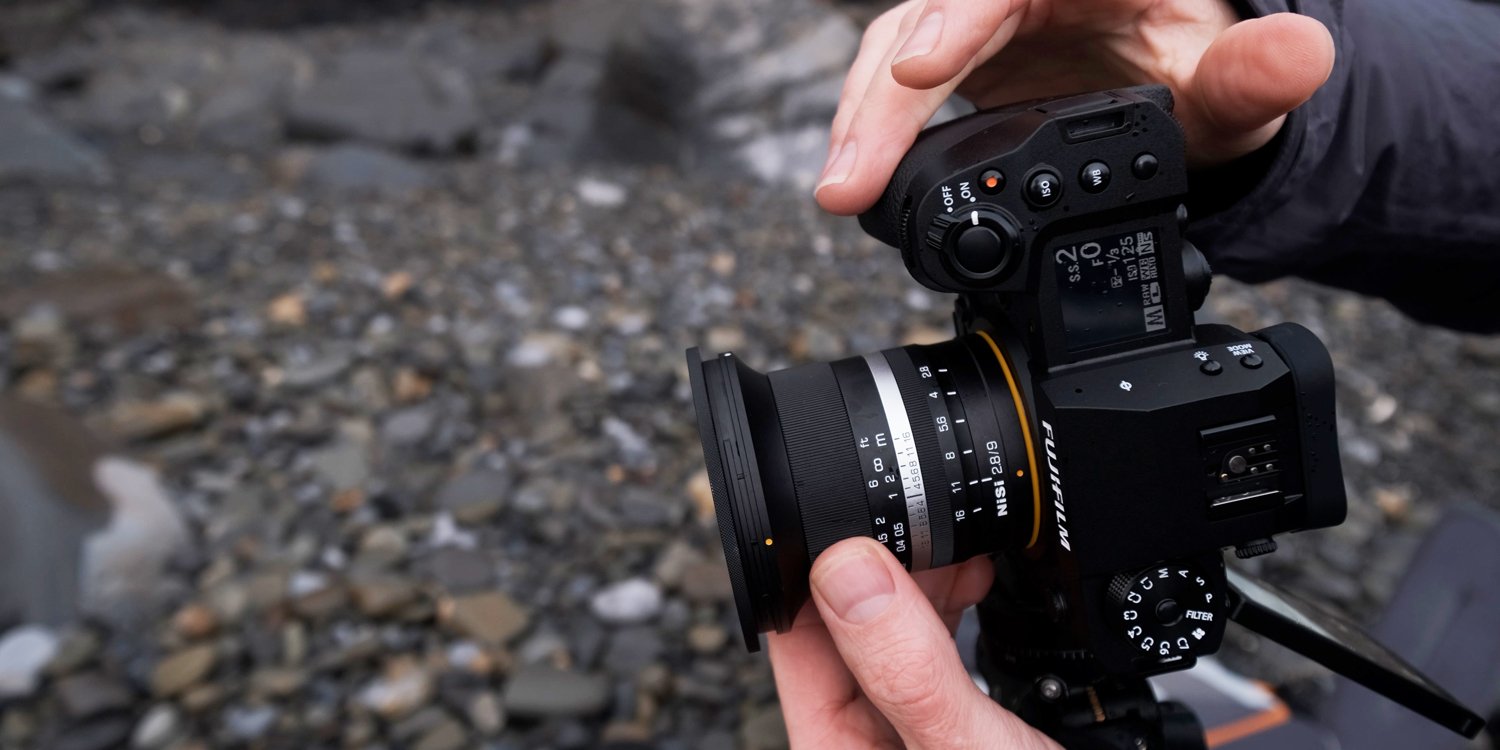
I won't go into how I set up the camera for focus bracketing as all cameras are slightly different, but if you are interested, I have done a video on how I set up the Fuji x-t2, which I will leave below.
So again, it is really important to have your settings and white balance manually set. When this is all sorted, just let the camera do its bracketing thing and you will be left with a set of images ready for editing.
So in terms of editing, it is pretty much the same process as above in lightroom, just import, make your global adjustments and sync them to all of your images. This time though, after we have imported them into photoshop we will select edit > then auto blend layers and photo stack. This will automatically blend the images using masks. This is great when there is a lot of images to work through. Again a detailed rundown of the whole process is shown below in the video.
So that's pretty much focus stacking in a nutshell.
I hope you like the content and please be sure to subscribe to the newsletter and the youtube channel to be kept up to date with all the latest videos and blog posts.
--


